Upgrading to smart home lighting is more than just swapping out a bulb; it's a transformative update to your home's atmosphere, security, and energy efficiency. It involves replacing standard fixtures and switches with connected devices you control via app, voice, or automated schedules. This guide walks you through the entire smart home lighting installation process, from initial concept to the final, satisfying tap on your phone.
Your Smart Lighting Journey Starts Here
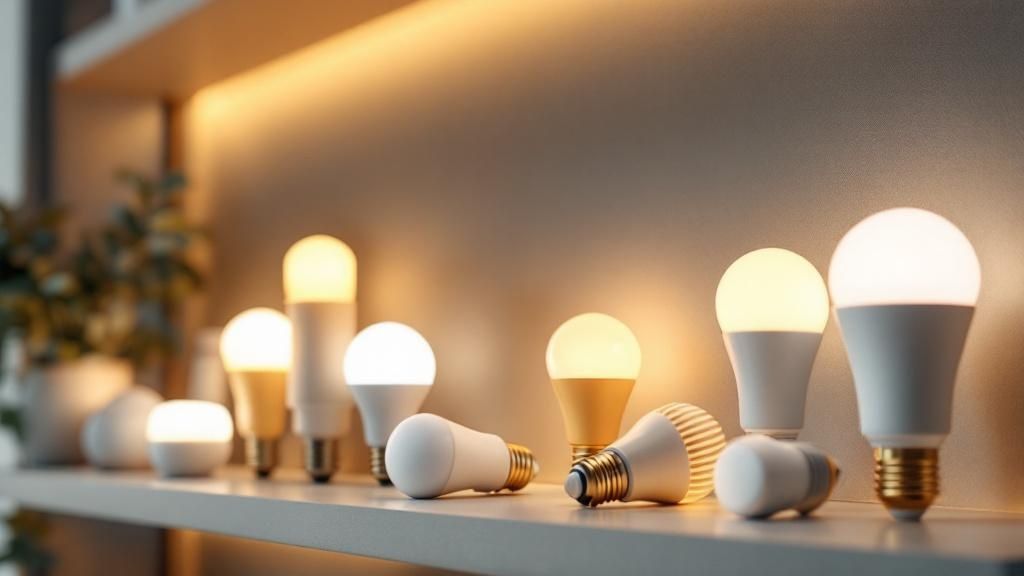
Kicking off a smart lighting project is an exciting first step toward a home that truly works for you. It's about creating a space that adapts to your life, whether you're in a sleek, modern Carmel home or a classic Monterey colonial. The first thing to grasp is that not all smart lighting is created equal, with options ranging from simple plug-and-play bulbs to fully integrated systems that require more planning.
A major factor is your home's existing electrical wiring. While most modern houses are ready for smart upgrades, older properties can sometimes present challenges. Understanding your current setup helps determine which products will work and whether you might need an electrician, ensuring your smart home lighting installation is a success from the start.
Understanding the Wireless "Language" of Your Lights
The "smart" in smart lighting comes from wireless communication. Your lights, switches, and hubs must all speak the same language, and the protocol they use is a critical choice impacting performance, reliability, and future expansion.
- Wi-Fi: This is the most direct route. Your devices connect straight to your home's router, just like a laptop. It’s a great starting point for experimenting with a few bulbs or a single smart switch.
- Zigbee & Z-Wave: These are low-power mesh networks designed specifically for smart home gadgets. They require a central hub but are incredibly stable and won't congest your Wi-Fi, making them ideal for larger, whole-home systems.
- Matter: As the new universal standard, Matter aims to ensure devices from different brands work together seamlessly. Choosing Matter-certified products is a fantastic way to future-proof your system.
The decision between a Wi-Fi system and a hub-based one (Zigbee/Z-Wave) often comes down to scale. For a single room, Wi-Fi is fine. For an entire home, a dedicated hub provides a more stable and responsive experience.
Smart Lighting System Types at a Glance
Choosing the right approach can feel overwhelming, but it's about matching the system to your goals. Here's a quick breakdown to help you decide which path is right for your home.
| System Type | Best For | Installation Complexity | Key Consideration |
|---|---|---|---|
| Smart Bulbs | Renters, beginners, or single-room setups. | Low: Just screw it in and connect to an app. | The physical light switch must always be on for the bulb to function. |
| Smart Switches/Dimmers | A seamless, traditional feel with smart benefits. | Medium: Requires basic electrical wiring knowledge. | Controls the entire circuit, making it great for fixtures with multiple bulbs. |
| Plug-in Dimmers/Outlets | Controlling lamps and other non-permanent fixtures. | Low: Just plug it in and pair it. | Perfect for adding floor lamps and accent lighting to your smart scenes. |
| Hub-Based Systems | Whole-home reliability and advanced automation. | Medium to High: Involves setting up a hub and pairing devices. | Creates its own dedicated network (Zigbee/Z-Wave) for rock-solid performance. |
The best systems often mix and match these components—using smart switches for overhead lights and smart plugs for lamps, all orchestrated by a central hub. At The Home Lighter, we help you select products that fit your home’s unique Central Coast style and your technical comfort level, creating a smarter, more intuitive home.
Designing Your Smart Lighting Blueprint
A great smart lighting system begins with a thoughtful, room-by-room plan. Think of it as creating an architectural blueprint for your home's atmosphere. This planning ensures every light has a purpose, whether casting functional light over a kitchen island in Salinas or creating a soft glow in a Carmel living room.
Before diving into technology, walk through your home and assess how you use each space. The lighting needed for a focused home office is vastly different from that of a relaxing media room. For larger projects, a basic understanding of understanding different types of architectural drawings, especially those detailing electrical layouts, can be very helpful.
Mapping Out Your Fixtures and Controls
With a clear vision for each room's function, you can focus on specifics. This is where you decide on fixture types, switch locations, and control methods. Are you an app person, a voice command enthusiast, or do you prefer the classic click of a physical smart switch?
Here are key elements to map out on your plan:
- Layered Lighting: Plan for a mix of ambient (overall), task (focused), and accent lighting. This combination gives a room depth and a professionally designed feel.
- Fixture Placement: Pinpoint locations for recessed lights, pendants, and sconces. In kitchens, strategic placement is key to eliminating shadows on countertops. Our guide on effective under-cabinet lighting options offers great ideas.
- Switch and Dimmer Locations: Place smart switches where they feel intuitive—right where you'd expect a switch to be when entering a room.
Expert Insight: Don't just plan for lights; plan for "scenes." A well-designed system lets you create presets for different moods. A "Movie Night" scene could dim main lights to 10% and turn on subtle accent lights with a single tap or voice command.
Budgeting and Future-Proofing Your System
With your lighting map sketched out, you can build a realistic budget. Account for smart bulbs, switches, and hubs, as well as potential electrical work. If you're adding new fixtures or live in an older home on the Monterey Peninsula, you’ll likely need a licensed electrician to run new wiring safely and up to code.
This is also the moment to think about the future. The global smart lighting market is projected to grow from $15.4 billion in 2023 to $44.1 billion by 2030, according to a report by Fortune Business Insights. A massive driver of this growth is the push for universal standards like Matter, which ensures devices from different brands can communicate. Opting for Matter-certified products is one of the smartest moves you can make, turning your project into a future-proof investment.
Essential Tools and Safety Protocols
Before you begin installing smart lights, it’s crucial to have the right tools and a solid safety plan. A successful project starts with proper gear and a healthy respect for electricity. Attempting electrical work without the right equipment or safety precautions is a recipe for frustration and danger.
This isn't about building a professional workshop; it's about getting the basics right. A few key tools will set you up for this project and many other DIY tasks around the house. Think of it as your starter kit for tackling electrical work with confidence.
Gathering Your Installation Toolkit
Having the right tools ready makes the entire process smoother and ensures your work is clean, secure, and correct. You don’t need the most expensive set, but investing in quality tools that won't fail is money well spent. A wobbly screwdriver or dull wire stripper can damage a new smart switch or create an unsafe connection.
Here’s a checklist of what you should have on hand:
- Non-Contact Voltage Tester: Your most critical safety tool. It confirms a circuit is dead before you touch any wires.
- Screwdrivers: A good set with various sizes of Phillips head and flathead tips. Insulated handles are a plus.
- Wire Strippers/Cutters: A quality pair is essential for cleanly stripping wire sheathing without nicking the copper conductor.
- Pliers: A basic set should include needle-nose pliers for bending wires in tight spots and lineman's pliers for twisting them.
- Wire Connectors: Modern lever-style connectors are a game-changer for DIYers, offering an easier and more reliable connection than traditional wire nuts.
This picture shows how to use a non-contact voltage tester to ensure an outlet is de-energized.
The clear signal is key—if there's voltage, the tester will beep and flash. That’s your cue to stop immediately.
Your Non-Negotiable Safety Checklist
Working with electricity demands your full attention; there are no shortcuts. Before any project, reviewing a thorough electrical safety checklist is a smart move to ensure all bases are covered.
Follow these critical steps every single time:
First, shut off the power at your main electrical panel. Find the correct breaker and flip it firmly to the "OFF" position.
Next, place a small piece of electrical tape over the breaker switch with a note like "Do Not Touch – Work in Progress." This prevents someone from accidentally restoring power while you work.
Finally, return to the fixture and verify the power is off with your non-contact voltage tester. Test the wires directly, and always test your tester on a known live outlet first to confirm it's working.
Crucial Reminder: Always treat every wire as if it's live until you have personally confirmed it's dead with a reliable voltage tester. This is the single most important rule of electrical safety.
Knowing When to Call a Professional
DIY is empowering, but knowing your limits is even more important. Some situations are best left to a licensed electrician.
You should call a pro if you encounter any of these scenarios:
- Your Home Has Old Wiring: If you find aluminum or "knob-and-tube" wiring, stop immediately. This requires an expert’s touch.
- The Job Requires New Wiring: Running new electrical lines for a fixture isn't a DIY job. It must meet local building codes, especially in areas like Monterey or Santa Cruz.
- You're Unsure About a Complex Layout: Planning a full ceiling of recessed lights involves calculations best handled by a professional.
- You Feel Uncomfortable: If you feel overwhelmed or unsure at any point, trust your gut. Your safety is more important than saving a few dollars.
Bringing Your Smart Lighting Plan to Life
With your blueprint designed and tools ready, it's time to turn that vision into a reality. This is where we get hands-on, swapping out old switches and wiring up new fixtures. This physical installation is critical for a responsive, reliable smart home, ensuring your lights don't flicker and your system communicates without a hitch.
This picture shows a homeowner focused on a smart LED strip installation, a common project for adding accent lighting.
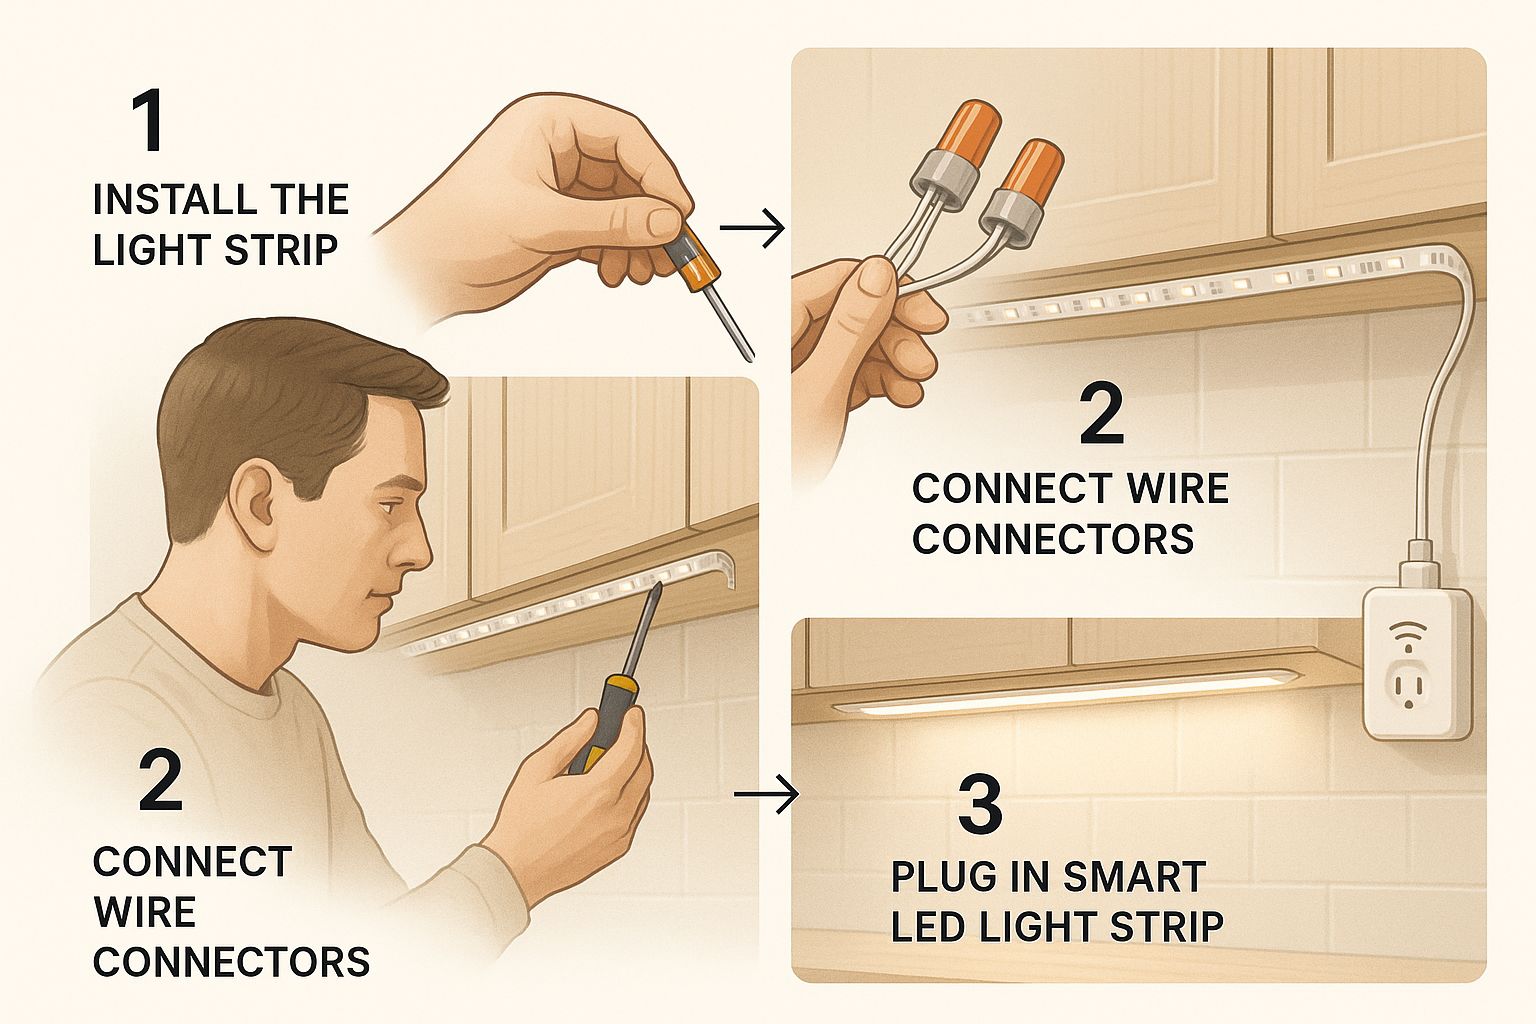
It highlights the detailed work involved in fitting and connecting smart components, even for something as seemingly simple as under-cabinet lighting.
From Old Switches to Smart Dimmers
One of the most satisfying upgrades is replacing a basic light switch with a smart switch or dimmer. After shutting off the power and verifying the circuit is dead, the process is straightforward but requires precision. A common challenge is fitting a bulky new smart switch into an old, crowded electrical box. You'll often need to carefully fold existing wires to the back of the box to create enough room.
Pro Tip: After securing a wire in its connector, give it a gentle tug. This simple, two-second test confirms the connection is solid and won't wiggle loose, preventing major headaches later.
Installing and Wiring New Smart Fixtures
Putting in a new smart-enabled fixture, like a connected chandelier or recessed lights, follows similar rules. If you're replacing an existing fixture, it's a direct swap. However, adding a light where one didn't exist before often requires running new wiring.
For jobs involving new cables, a guide on electrical conduit installation can be invaluable for ensuring safety and code compliance. Proper wiring is not just about function; it's about long-term home safety.
Advanced Components for Greater Control
Your system may include advanced components like in-wall smart relays. These tiny modules install inside the electrical box behind a traditional switch, making it "smart" without changing its appearance. They are excellent for controlling a group of lights from one location.
A great installation also respects the room's architecture. The way you wire and place lights in a high-traffic area is crucial for creating an intuitive and comfortable environment. Our guide on designing a living room lighting layout explores how physical installation directly impacts a room's final feel.
Configuring and Connecting Your System
With the hardware securely in place, it’s time to bring your system online. This is where your lights and switches gain their "smart" capabilities, transforming from fixtures into a responsive network. The next steps in your smart home lighting installation involve connecting your devices and teaching them to communicate with each other and with you.
This is where the magic happens. We’ll connect everything to your home network, organize your devices logically, and set up the custom automations that make smart lighting so powerful.
Establishing a Solid Connection
Every device needs a clear line of communication to your network. This is the digital backbone of your setup.
- Direct Wi-Fi Connection: Many smart bulbs and switches connect directly to your home’s Wi-Fi router. This is often the simplest approach, guided by the manufacturer’s app.
- Dedicated Smart Hub: For systems using Zigbee or Z-Wave, a central hub plugs into your router and creates a separate, stable mesh network just for your smart devices, preventing Wi-Fi congestion.
Your first step is almost always downloading the manufacturer's official app, which will act as your command center for setup.
Pairing and Grouping Your Devices
With the app installed, you can pair your new lights and switches. Most apps have a "device discovery" mode that scans for new hardware. You'll typically put a device into pairing mode—often by flicking its power switch—and the app will handle the rest.
Once devices are recognized, you can group them logically.
A key to an intuitive system is grouping lights by room or function. For example, a "Kitchen" group could include overhead recessed lights, under-cabinet strips, and an island pendant, allowing you to control all of them with a single command.
This grouping elevates a collection of smart bulbs into a true smart lighting system and lays the groundwork for creating rich, layered lighting experiences.
Creating Scenes and Automations
Now you can design custom scenes and automations. Scenes are preset lighting configurations for specific activities, while automations are schedules that run on their own.
Popular Scene Ideas:
- Movie Night: Dims living room lights to 15% brightness while activating subtle accent lighting.
- Dinner Party: Creates a warm glow over the dining table while keeping kitchen task lights bright.
- Good Morning: Gently fades bedroom lights on over 15 minutes to mimic a natural sunrise.
Setting up scenes allows you to tailor the system to your lifestyle. Many of our Central Coast clients create a "Coastal Sunset" scene that automatically transitions indoor lighting from bright and cool to soft and warm as the sun sets over the Pacific. For more inspiration, explore these living room lighting ideas.
Integrating with Voice Assistants
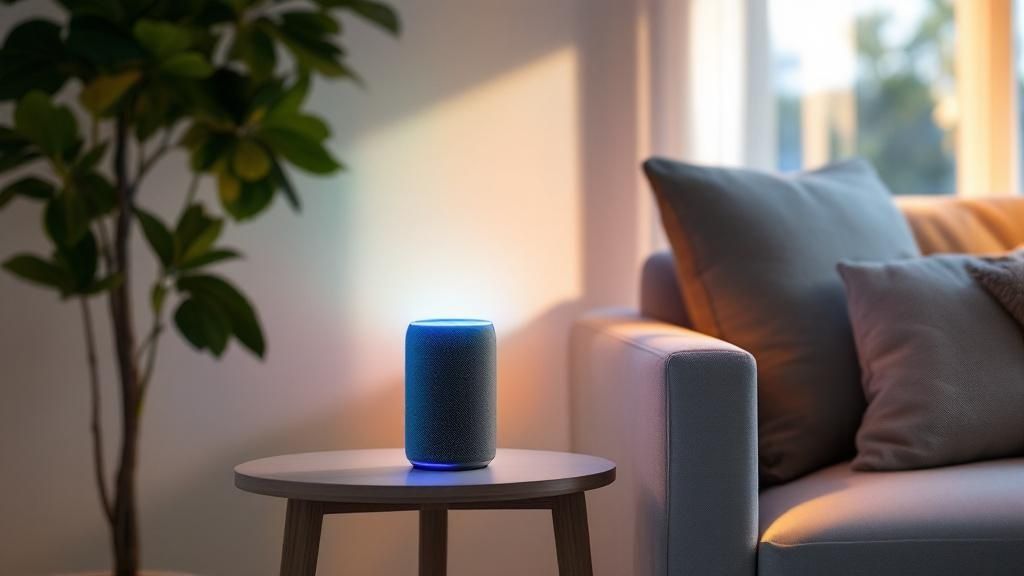
For ultimate convenience, link your lighting system to a voice assistant like Amazon Alexa, Google Assistant, or Apple Siri. This enables hands-free control and makes your home feel truly connected. Seamless integration with these platforms is a major reason why the smart home market is growing so rapidly.
The connection process is usually straightforward. You’ll enable the "skill" or "service" for your lighting brand in your voice assistant's app. Once linked, you can say, "Hey Google, turn on the kitchen lights," or "Siri, set Movie Night."
Frequently Asked Questions About Smart Lighting Installation
Here are answers to some of the most common questions we hear from homeowners on the Monterey Peninsula and beyond.
Do I need a special hub for smart lighting?
Not always, but it often helps. Many smart bulbs and switches connect directly to Wi-Fi, which is great for starting with a few devices. However, for a whole-home system, a dedicated hub using Zigbee or Z-Wave creates a separate, highly reliable network for your devices, preventing Wi-Fi slowdowns and improving responsiveness.
Can I mix and match different brands?
Yes, and it's getting easier. The Matter standard is a game-changer, designed to make devices from different companies work together seamlessly. Look for the Matter logo for guaranteed interoperability. You can also use smart home platforms like Apple Home, Google Home, or Amazon Alexa to control a mix of brands from a single app.
Will my smart lights work if the internet goes down?
It depends on your setup. Wi-Fi-based devices will lose their "smart" features (like app and voice control) without an internet connection, though the physical switch will still work. Systems with a local hub (Zigbee/Z-Wave) often continue to run schedules and scenes locally, even when the internet is out.
Is smart home lighting a good DIY project?
For simple tasks like swapping a bulb, absolutely. However, replacing wall switches or installing new fixtures requires comfort with basic electrical wiring. If you are hesitant, have older wiring, or are planning a large project, calling a licensed electrician is the safest and smartest move to avoid the common home lighting mistakes that can cause problems later.
How much does smart lighting cost?
The cost varies widely. A single smart bulb can be as affordable as $10, while a professionally installed, whole-home system can cost several thousand dollars. Budgeting should include not only the devices (bulbs, switches, hubs) but also potential labor costs if you hire an electrician for a more complex installation.
At The Home Lighter, Inc., we guide you through every step, from initial design to final configuration. Visit our showroom or get in touch to start planning your perfect smart lighting system today.