Installing a ceiling fan with a light is a rewarding weekend project that boosts your home's comfort and style. By breaking the process down into key stages—safety checks, mounting, wiring, and final assembly—you can confidently tackle this installation yourself. Follow these steps for a safe, secure, and professional-looking result.
Your Pre-Installation Safety and Tool Checklist
A successful ceiling fan with light installation starts before you even open the box. Gathering your tools and ensuring a safe workspace is the foundation for a smooth project that avoids any surprises.
First and Foremost: Power Down
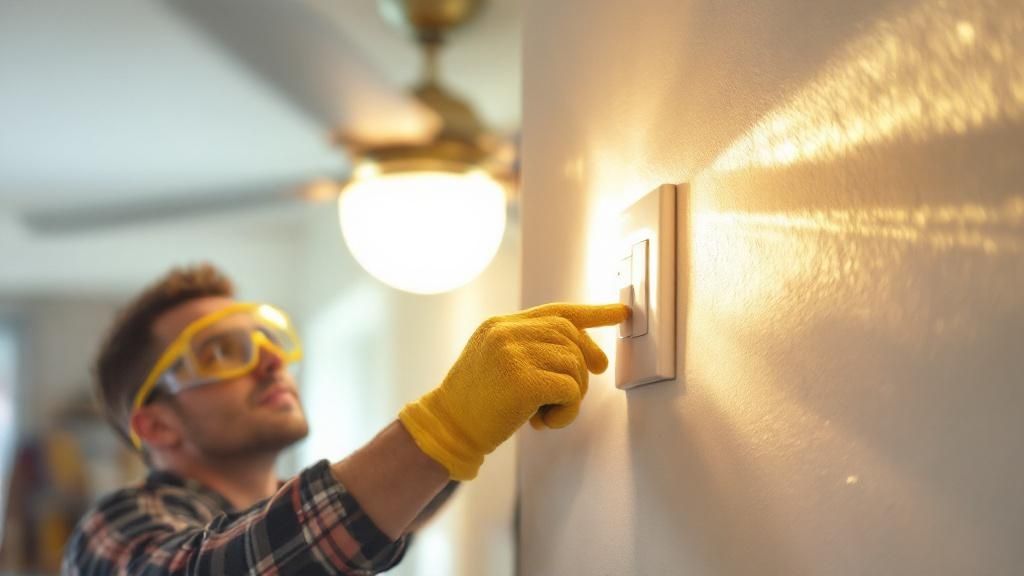
This is the most critical step and cannot be skipped. Go to your home's circuit breaker panel and find the correct breaker for the room you're working in. Flip it all the way to the "OFF" position.
To be 100% certain the power is off, use a non-contact voltage tester. Hold its tip near the wall switch and then inside the ceiling box. If it remains silent and doesn't light up, you're safe to proceed.
Crucial Safety Tip: Never rely solely on the wall switch to cut power. Someone could accidentally flip it back on. Always use the circuit breaker to ensure the circuit is completely dead.
Gather Your Essential Tools
There's nothing more frustrating than being on a ladder and realizing you're missing a tool. Gather your gear beforehand to save time and hassle.
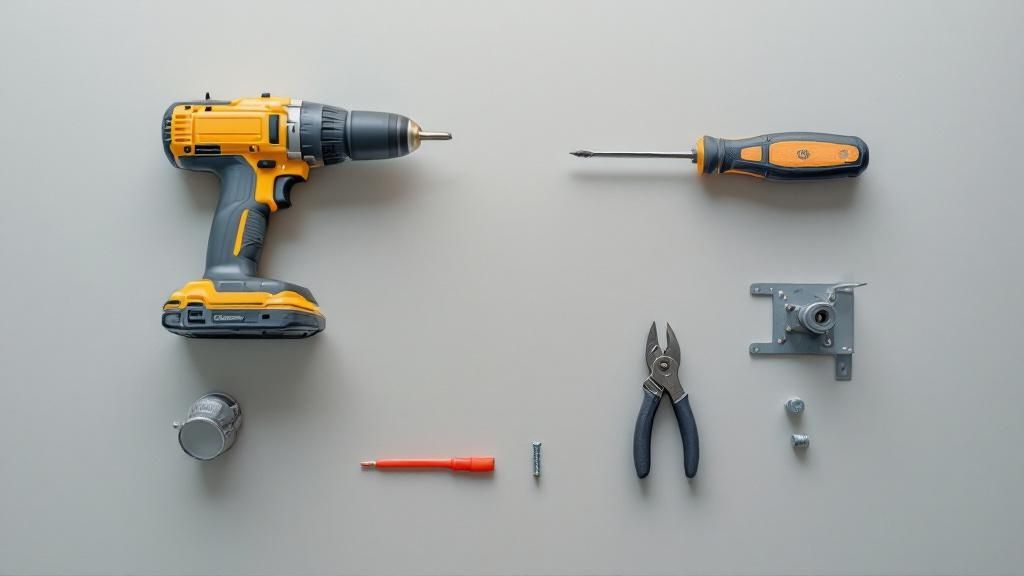
Here’s a quick list of what you'll need:
- A Sturdy Ladder: Ensure it’s tall enough to let you work comfortably without overreaching.
- Voltage Tester: This is a non-negotiable safety tool.
- Screwdrivers: A set with both Phillips and flat-head screwdrivers is ideal.
- Pliers: Needle-nose pliers are perfect for guiding and twisting wires.
- Wire Strippers/Cutters: These make preparing wires for connection simple and clean.
- A Helper: An extra pair of hands to lift and hold the heavy fan motor is a game-changer.
Inspect Your Ceiling Box
Your final check is crucial: inspect the electrical box in your ceiling. It's a common and dangerous mistake to assume the box that held your old light fixture can support a ceiling fan.
Standard electrical boxes are not designed for the weight and vibration of a running fan. The box must be "fan-rated," a stamp you'll find on the metal inside. If it's not fan-rated, you must replace it with a proper fan-rated brace box to ensure your fan stays safely attached to the ceiling.
This careful planning is essential for any home lighting project, from a fan installation to selecting your kitchen lighting.
Mounting the Fan for a Secure and Stable Foundation
With the power off and the old fixture removed, you're at the most critical structural part of the job. The fan's stability and quiet, wobble-free operation depend entirely on how well it's anchored.
Attach the new mounting bracket to your fan-rated electrical box using the screws and lock washers provided. Tighten them firmly, as a loose bracket is the number one cause of a noisy, vibrating fan.
Assembling Key Components on the Ground
Here’s a pro tip that saves you from awkward balancing on a ladder: assemble the main fan components on the floor first. It’s much safer and less frustrating.
Before you climb that ladder, take care of this pre-assembly:
- Prep the Downrod: Carefully guide the fan’s electrical wires through the downrod. Secure the downrod to the motor collar with the provided clevis pin and cotter pin for a snug fit.
- Slide on the Finishing Touches: Before attaching the downrod, slide the motor coupling cover, canopy ring, and the main canopy over the downrod—in that specific order. Forgetting this step means you'll have to take everything apart later.
Lifting and Hanging the Fan Motor
Now, it’s time for the main event—and where a helper is invaluable. Carefully carry the assembled fan motor up the ladder and lift the top of the downrod into the mounting bracket.
The trick is to properly seat the hemisphere-shaped ball at the top of the downrod into the bracket's hanger groove. You'll feel it settle into place. This ball-and-socket design allows the fan to hang level and run smoothly, even on slightly uneven ceilings.
This foundational work sets you up for the wiring stage. Just as with mounting, taking your time here is as important as choosing the right fixture. You can explore the many types of light fixtures to see how each can define a room's character.
Navigating the Wiring for Your Fan and Light
Wiring can seem intimidating, but it's a logical, color-coded process. Once you understand what each wire does, you’ll see it’s just a matter of making simple connections.
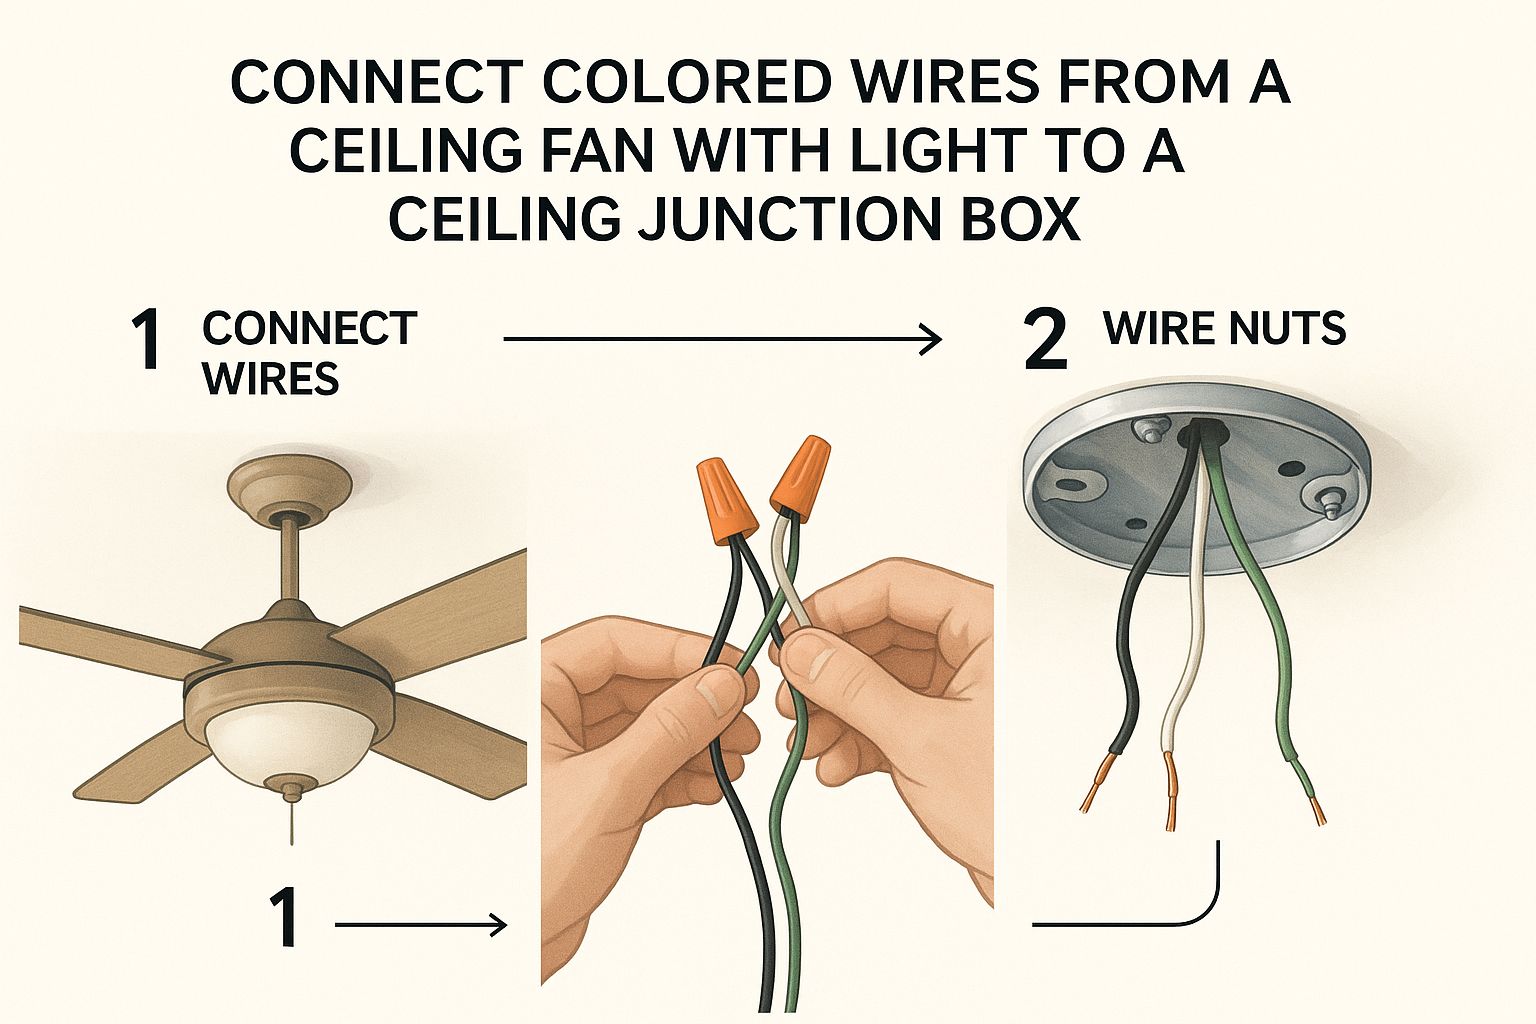
Think of it as matching colors. You'll connect the wires from your ceiling to the corresponding wires on your fan. Typically, you'll find a black (hot/power), white (neutral), and green or bare copper (ground) wire.
Making Secure Connections
Strip about a half-inch of insulation off the end of each wire. Hold the bare ends of the matching wires together and twist a wire nut on top clockwise until it feels snug and secure.
A Pro's Tip: After tightening a wire nut, give each wire a gentle tug. A solid connection won't budge. A loose wire is a common point of failure and a potential fire hazard.
For smart fans, you'll also wire in a small receiver module. This "brain" sits inside the mounting bracket and interprets signals from your remote or app. The process is similar: connect house wires to the receiver's "input" and fan wires to the "output" side, following the included diagram.
Understanding Your Home's Wiring Setup
The wiring in your ceiling determines how you control your fan and light. Here in the Monterey Peninsula, you'll likely find one of two setups.
- Single-Switch Control: This is the most common setup with one black, one white, and a ground wire. You'll connect both the fan's motor wire (typically black) and the light's power wire (usually blue) to the single black ceiling wire. This means one wall switch will operate both the fan and light together.
- Dual-Switch Control: Ideal for separate control, this setup includes two hot wires (often one black, one red), plus the neutral and ground. You'll connect the fan's motor wire to one hot wire and the light's wire to the other, allowing two separate wall switches—one for the fan and one for the light.
The demand for ceiling fans with integrated lights is booming. The global market, valued at $14.6 billion in 2023, is projected to reach $31.6 billion by 2032, according to GlobeNewswire. This growth highlights the shift towards multi-functional, energy-efficient fixtures.
This all-in-one approach changes how a room's lighting is planned. A sleek, low-profile LED panel roof light is wired differently than an integrated fan and light. Each choice impacts the room's function and feel.
Final Assembly: Attaching the Blades and Light Kit
You've done the heavy lifting and wiring. Now comes the satisfying part where your fan finally takes shape.
First, attach the fan blades. Taking your time here prevents annoying clicks and wobbles. Most designs have you attach the blade brackets (or irons) to the motor first, then fasten the blades to the brackets.
A Pro Tip: When attaching a blade bracket, get all screws started but only partially tightened. This gives you room to ensure the bracket is flush against the motor housing before you give them a final turn.
Attaching the Blades for Optimal Airflow
Carefully attach each blade to its bracket with the provided screws. Make them snug, but don't overtighten, as this can strip the screw threads or damage the blade's finish.
A common mistake is installing blades upside down. Fan blades have a specific pitch to push air efficiently. Check your manual to ensure the correct side faces down for a cooling breeze.
Installing the Light Kit and Bulbs
Next is the light kit, which on modern fans is often a simple plug-and-play connection. A wiring harness on the light kit will snap into a matching connector from the fan motor.
Once connected, secure the light kit housing to the fan. Now you just need to add the bulbs, a more important step than you might think.
- Check Wattage Limits: Your fan's light kit has a maximum wattage rating printed on it—do not exceed it. Using a higher-wattage bulb is a fire hazard.
- Choose the Right Bulbs: For our coastal Monterey climate, I recommend warm, dimmable LED bulbs. They offer an inviting glow perfect for our foggy evenings and are incredibly energy-efficient.
Finally, gently attach the glass shade or globe. Most twist into place or use small thumbscrews. Ensure it's secure enough not to rattle, but not so tight that you risk cracking the glass.
Troubleshooting Common Installation Issues
Even with careful work, you might hit a snag. Most issues, like a wobbly fan or a light that won't turn on, are common and fixable.
The number one complaint is a wobbly fan, which almost always points to an imbalance. First, turn off the power at the breaker. Then, double-check that every screw—on the mounting bracket, downrod, and blade brackets—is tight.
Fixing a Wobbling Fan
If tightening screws doesn't help, check the blade alignment. Use a tape measure to check the distance from the tip of each blade to the ceiling. If one blade is off by more than a quarter-inch, you've found the problem.
This is where the balancing kit included with your fan comes in. Follow its instructions to stick small weights onto the lighter blades to correct the imbalance and get your fan spinning smoothly.
Solving Electrical Glitches
If the fan or light won't turn on, retrace your steps. Check that the circuit breaker is firmly in the "ON" position. If it is, the issue is likely a wiring connection.
Key Takeaway: A faulty connection is the most common cause of electrical failure in a DIY installation. Always turn the power off at the breaker before inspecting your wiring. Check that all wire nuts are secure and that the copper wires are making solid contact.
If your connections are solid, the problem could be an incompatible dimmer switch. Standard light dimmers can't handle a fan's motor load and can cause humming or failure. This is one of the most common home lighting mistakes we see homeowners make.
The global ceiling fan market was valued at around USD 11.2 billion and is expected to grow as more people seek integrated cooling and lighting. For more details on this trend, you can read the full industry report.
FAQs: Your Ceiling Fan Installation Questions Answered
Even after a successful installation, you might have a few questions. That's perfectly normal, especially with the unique homes here on the Monterey Peninsula. Here are answers to some common concerns.
Can I use the existing electrical box from my old light fixture?
No, this is unsafe. A standard electrical box is only rated for the static weight of a light fixture. It cannot support the weight and constant vibration of a fan motor. You must use a metal or heavy-duty plastic box that is specifically stamped as "fan-rated" to prevent a dangerous fall.
How do I install a fan on a sloped ceiling?
The beautiful angled ceilings common in many Central Coast homes require special attention. Most standard fan hardware can handle a slight pitch (up to 15 degrees). For steeper ceilings, you'll need a dedicated sloped ceiling adapter to ensure the fan hangs straight down, preventing wobble and strain.
Can I use a dimmer switch with my new fan and light?
Yes, but you must use the correct type of switch. A standard light dimmer should never be used to control a fan's motor, as it can cause humming and burn out the motor. You need a dedicated fan speed controller for the motor and a separate, compatible dimmer switch for the light kit (ensure both the kit and bulbs are marked "dimmable").
What’s the difference between wiring for one switch versus two?
A single-switch setup is the most basic, where one wall switch controls both the fan and light together. A dual-switch setup requires an extra hot wire (usually red) run from the ceiling to the wall, allowing you to have two separate switches for independent control of the fan and light—a highly desirable feature.
Why is my new fan making a clicking or humming noise?
A clicking noise often comes from loose blade bracket screws or a blade hitting the motor housing. A humming noise is more often electrical, frequently caused by using an incompatible dimmer switch on the fan motor. Check all mechanical connections first, and if the humming persists, ensure you are using a fan-rated speed control switch. For more complex issues, you can review general troubleshooting guides.
Expert Insight: Understanding how home lighting affects everyday life can help you make more intentional choices for every fixture in your home, not just ceiling fans. The right lighting does more than just illuminate; it sets the mood and enhances your home's function.
At The Home Lighter, Inc., we believe the right fixture can transform a room. Whether you need guidance on a complex ceiling fan with light installation or are looking for the perfect fan to complement your home's style, our team is here to help. Visit our showroom in Pacific Grove or explore our lighting solutions online at https://homelighterinc.com.