
Direct Answer: Pick one dominant finish and one supporting finish, then let hardware and plumbing repeat that pairing instead of adding a third. Compare samples together under the room’s real bulbs before buying.
The kitchen pendants are satin nickel. The hallway flush mount is aged bronze. The bath vanity light is polished chrome, because it was on sale the week that room got done.
Every one of those fixtures looks fine by itself. Together, they make a house feel like it was decorated by three different people who never spoke to each other.
This is the most common and most expensive mistake in a lighting refresh, and it almost never happens all at once. It happens over six to eighteen months of buying room by room. Here is how homeowners across Monterey County, CA keep it from happening, plus one coastal wrinkle that catches people in Pacific Grove and Carmel every year.
Why Fixture Finish Coordination Falls Apart Mid Remodel
Almost nobody buys every fixture in a home on the same afternoon. The kitchen gets done first, the primary bath comes six months later when the budget recovers, and the entry finally gets handled the following spring.
By then the finish decision is being made from memory. And memory is terrible at metal. “Brushed nickel” from one brand and “satin nickel” from another can sit two shades apart, which reads as a mistake rather than a mix.
The usual drift pattern looks like this:
- Different retailers, different naming. Champagne bronze, warm brass, and antique gold are three names that sometimes describe the same color and sometimes do not.
- Different project phases. The contractor picks bath fixtures during framing, the homeowner picks the dining chandelier a year later.
- Online photos. A fixture photographed on a white studio background looks nothing like it does in a room with wood floors and fog light coming through the window.
- One impulse buy. A single statement piece in an unrelated finish pulls the whole room off.
Several homeowners who call about a hallway pendant describe exactly this. They already own a bronze floor lamp or an older fixture they like, and they want the new piece to tie in rather than argue with it. That instinct is right, and it is much easier to act on before the fixture is hanging.
The Two Finish Rule That Keeps Rooms From Arguing
Mixing metals on purpose reads as sophisticated. Mixing them by accident reads as a mistake. The difference is almost always whether the finishes were chosen next to each other or picked separately in different stores.
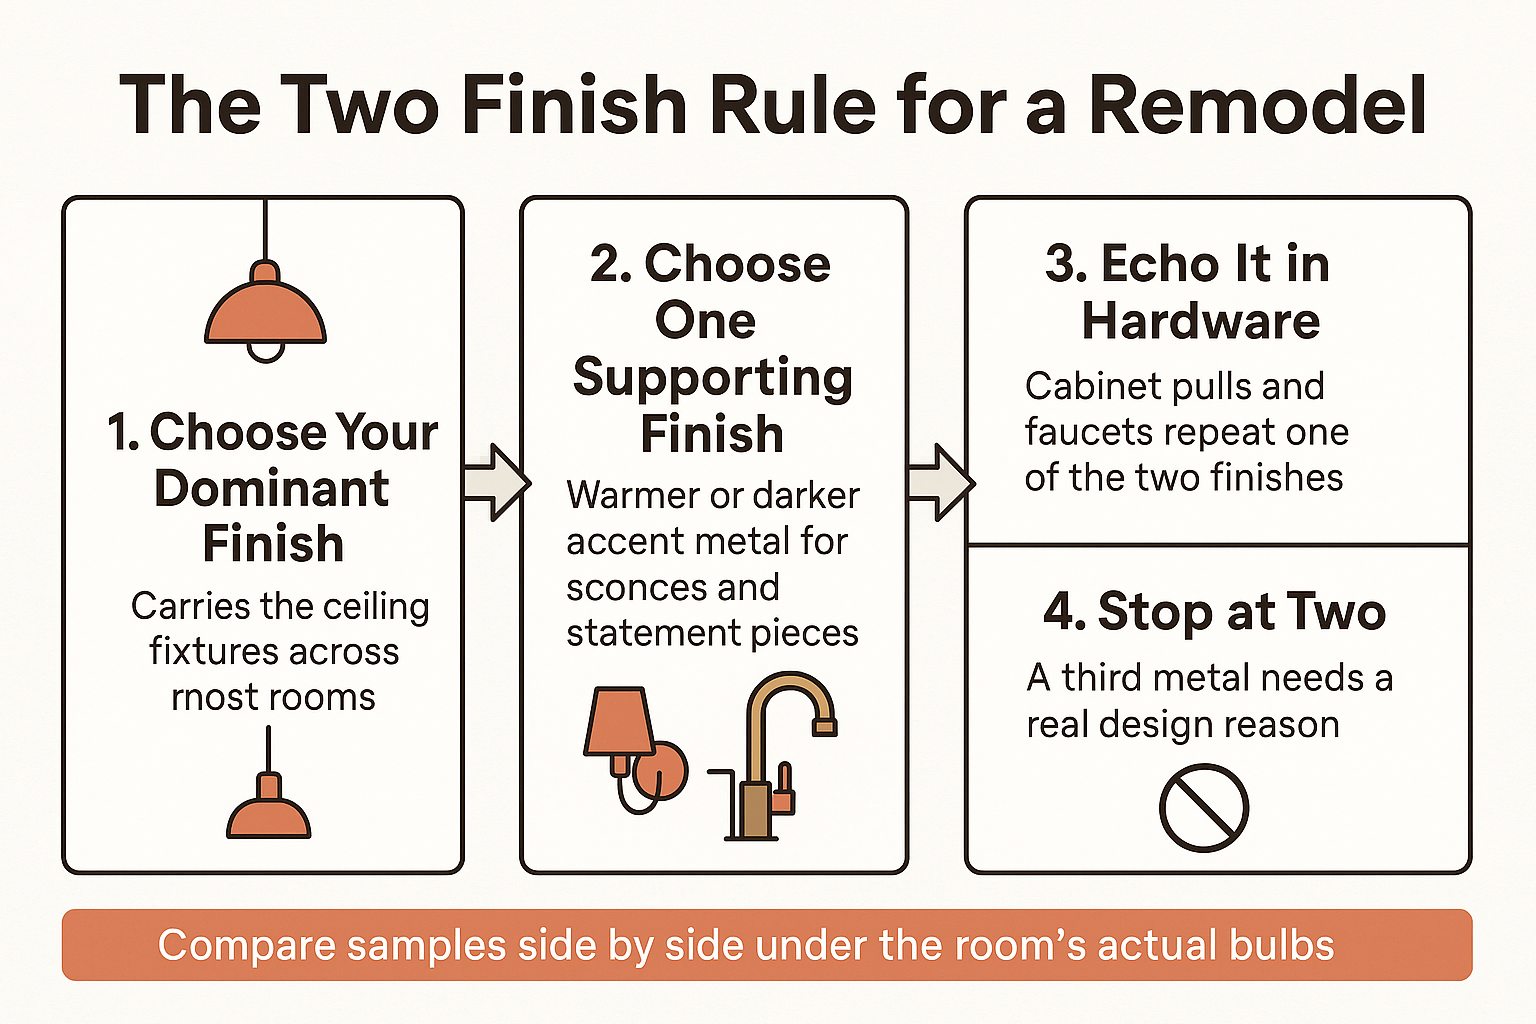
Here is the framework that holds up in real homes:
- Pick one dominant finish. This is the finish that carries the most visual weight across the most rooms. Usually the ceiling fixtures.
- Pick one supporting finish. A warmer or darker second metal used for accents, sconces, or a single statement piece.
- Let hardware and plumbing echo the pairing. Cabinet pulls and faucets should repeat one of those two finishes, not introduce a third.
- Stop at two. A third metal needs a real reason and a designer’s eye behind it.
The 2026 direction toward warm metals, architectural bronze, and deliberate mixed-metal combinations makes this more nuanced than it used to be. Warm brass paired with a dark bronze can look excellent. Warm brass, cool nickel, and matte black in one sightline rarely does.
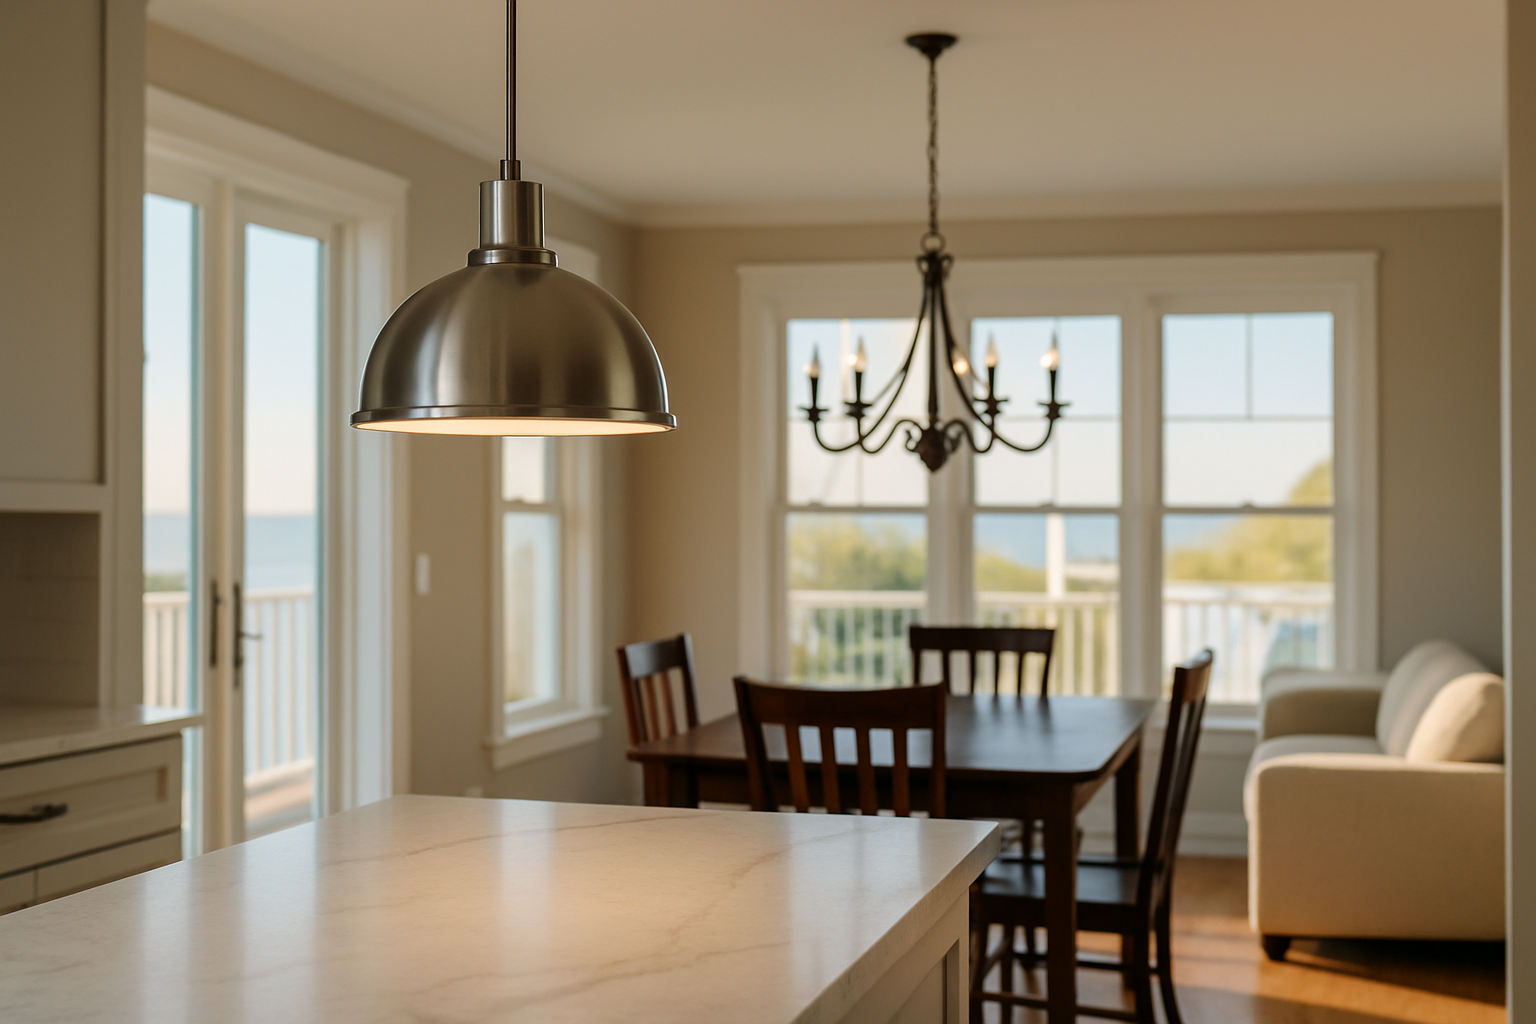
Open-plan homes on the Peninsula have far less margin here. When the kitchen flows into dining and dining flows into living, a homeowner sees three or four fixtures at once from the sofa. Homes with separated rooms can carry more variation, because the eye resets at every doorway.
If you are working on a fixture outside the kitchen, picking a pendant for a room that isn’t your kitchen walks through the same coordination question in more detail.
The Finish Coordination Framework at a Glance
This is the decision order that keeps a whole-home refresh from drifting out of alignment room by room.
Salt Air Changes Which Finishes Actually Survive Here
This is the part that catches people who move to the Peninsula from inland. A finish that photographs beautifully in a national catalog can dull or pit within a season in Pacific Grove or Carmel.
Salt air speeds up corrosion, and it does not only affect fixtures mounted outdoors. The exposure zone includes:
- Entryways and covered porches where marine air moves freely
- Covered patios and outdoor kitchens a few blocks from the water
- Bathrooms with operable windows that stay open for ventilation
- Sunrooms and screened areas on the ocean side of a home
Polished chrome and some lacquered metals are the usual casualties in those spots. Once the clear coat fails, the metal underneath goes fast, and there is no polishing it back.
Powder-coated and oil-rubbed finishes generally hold up better in coastal conditions. Marine-grade or wet-location rated fixtures cost more up front, and replacing a corroded entry light two years early costs more than that difference. Ask about the rating before you buy, because a fixture rated for damp locations is not the same as one rated for wet.
One more local note for anything mounted outside: Carmel-by-the-Sea has exterior lighting rules that cap residential fixture color temperature at 3000K and limit lumen output. Verify current requirements with the city or your licensed electrician before ordering, since those rules do get updated.
How Common Finishes Behave on the Coast and Under Warm Light
General guidance, not a guarantee. Performance depends on the manufacturer’s coating, the fixture’s location rating, and how far the home sits from the water.
| Finish | Coastal Durability | How It Reads Under 2700K-3000K LED |
|---|---|---|
| Oil-rubbed bronze | Strong in exposed areas | Deepens and warms, hides water spots |
| Powder-coated matte black | Strong, holds its coating well | Stays neutral, reads slightly softer |
| Aged or antique brass | Good, patina is part of the look | Rich and warm, can look greenish under cool bulbs |
| Satin or brushed nickel | Moderate, better in interior rooms | Picks up a warm cast, less silver than expected |
| Polished chrome | Weakest near salt air, prone to pitting | Mirrors whatever is around it, can look yellow |
| Lacquered polished brass | Moderate, fails once the clear coat breaks | Very warm, can read orange under 2700K |
Look at Finishes Under the Light They Will Actually Live In
This is the step almost everyone skips. Finishes are compared on a phone screen, or under the showroom’s overhead lighting, and never against each other in the bulb color the room will actually use.
Color temperature changes metal dramatically. A brass that looks rich under warm bulbs can appear flat or slightly green under a cooler source. The U.S. Department of Energy’s guidance on LED lighting explains how much variation exists between bulb color temperatures, and that variation lands directly on your fixture finish.
A few habits that prevent expensive surprises:
- Bring a sample of your existing finish. A cabinet pull, a spare escutcheon, even a clear photo taken in the room’s own light.
- Compare two candidates at the same time. Metals only look wrong next to each other, never alone.
- Match the bulb temperature first. Decide on 2700K or 3000K before judging any finish.
- Check it against your countertop and floor. Warm oak and cool quartz pull finishes in opposite directions.
This side-by-side comparison is the one thing a physical showroom does that an online photo cannot. Greg and Tammy at The Home Lighter keep finish samples on hand for exactly this reason, and homeowners frequently discover that the metal they were set on from a website looks entirely different once it sits next to the fixture already hanging in their hallway.
If your project also involves controls or new circuits, California’s 2026 lighting code affects dimmers and efficiency requirements on remodels, which is worth sorting out with your contractor at the same time you settle finishes.
Frequently Asked Questions About Fixture Finish Coordination
Can I mix metals, or does everything have to match?
You can absolutely mix, and in 2026 intentional mixing looks more current than a single matched finish. The rule is two finishes, chosen together, with hardware and plumbing repeating one of them. Problems start at three or more, especially when the third arrived by accident.
My kitchen is already nickel and I want bronze in the dining room. Is that a mistake?
Not necessarily, but it depends on your sightlines. If you can stand at the kitchen island and see the dining fixture, the two need to look like a deliberate pair, which usually means warming the nickel choice or picking a bronze with a softer, less red tone. If a wall separates them, you have much more freedom.
Does salt air really damage indoor fixtures?
It affects the transition spaces more than true interiors. Entryways, covered porches, and bathrooms with windows that stay open see enough marine air to matter. Bedrooms and interior hallways generally do not.
What does it cost to redo fixtures that do not coordinate?
It varies widely, and the fixture price is only part of it. You are also paying a licensed electrician for the labor, and possibly patching ceilings if the new fixture has a smaller canopy. Costs depend on fixture count, brand, and complexity, so it is worth pricing the fixtures with a showroom and the labor with your electrician before deciding whether to fix one room or all of them.
How do I keep track of finishes across a long remodel?
Keep one physical sample of your dominant and supporting finish in a bag, and take it with you every time you shop. Photos on a phone will lie to you. A physical chip next to a candidate fixture will not.
Seeing Finishes Side by Side Before You Commit
Finish decisions are far easier to make with the samples in front of you and the right bulb color overhead. The showroom at 2034 Sunset Drive in Pacific Grove keeps a curated collection on display for homeowners across Monterey County, CA who are working through a remodel one room at a time. Walk-ins are welcome, appointments are available for more involved projects, and the number is (831) 655-5500.