
Direct Answer: Low voltage landscape lighting design starts with transformer capacity and circuit load, then moves to wire runs, fixture placement, and beam angle. Style is chosen last, after the electrical layout is set.
Two homeowners call about outdoor lighting in the same week. One wants to swap the fixtures on a small Carmel cottage. The other manages a property with an existing system and wants more fixtures plus a timer that actually works.
Those sound like the same project. They are not even close. One is a shopping decision, and the other is a load and layout problem that has to be solved before anyone picks a finish.
This guide walks through how low voltage landscape lighting design actually gets put together on the Monterey Peninsula, in the order the decisions really happen. It also covers the Carmel-by-the-Sea rules that catch people who order online without checking first.
First, Figure Out Which Project You Actually Have
Before anyone starts browsing fixtures, it helps to name the situation. Most outdoor lighting projects in Monterey County fall into one of three buckets.
- Straight replacement. Same fixture count, same locations, same wattage. You are matching what is already there and updating the look.
- Adding to an existing system. New fixtures tie into wire and a transformer that were sized for the old layout. This is where problems hide.
- A new design from scratch. No existing wire. You are deciding what gets lit, in what order, and how the property should read at night.
The middle one causes the most trouble. Homeowners add three fixtures one year and four the next, and nobody checks whether the transformer can carry the extra load.
The symptoms show up slowly. Fixtures at the far end of a run look dimmer than the ones near the transformer. Lamps burn out faster than they should.
If your property already has buried cable, the honest first step is finding out what is on it. A licensed electrician or landscape lighting contractor can measure the actual voltage at each fixture and tell you what headroom is left.
The Transformer Is the Part Almost Nobody Thinks About First
Most people start with fixture style and end with transformer capacity. Working in that order is backwards, and it is the single most common reason a system underperforms.
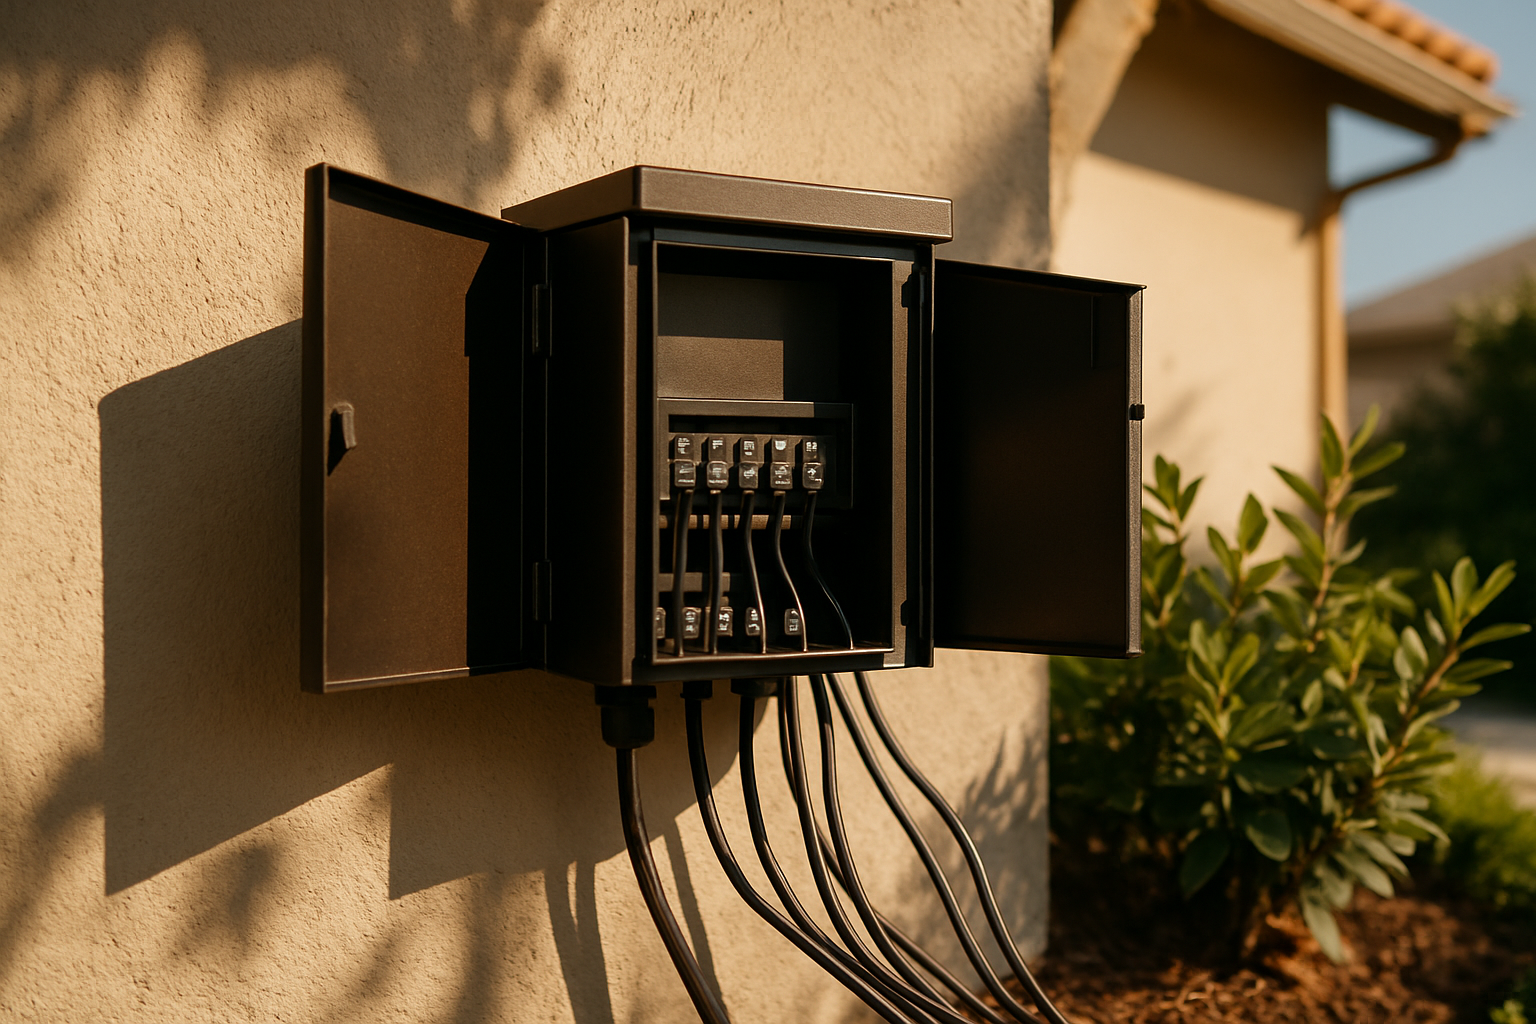
A low voltage system steps household power down to 12 volts. The transformer has a rated capacity in watts, and everything on the circuit draws from that pool.
Many manufacturers recommend loading a transformer to no more than about 80 percent of its rated capacity. Running it closer to the limit tends to shorten fixture and lamp life, and it leaves no room to add anything later.
Then there is voltage drop, which is the quiet killer on larger coastal lots. Power fades over distance, so a fixture 150 feet down the run gets less voltage than one 20 feet out.
Three things control that:
- Wire gauge. Heavier wire, like 10-gauge instead of 12-gauge, loses less over long runs.
- Run length and layout. Splitting a property into shorter loops beats one long daisy chain.
- Total wattage on the run. More load on one wire means a steeper drop.
LED fixtures draw far less than the old halogens, which gives modern systems real breathing room. That is also why so many older Peninsula properties have transformers that are wildly oversized for what is actually connected now.
Load calculations and wire sizing belong to your electrician or contractor. Knowing the numbers exist before you shop is what keeps the fixture list realistic.
Beam Angle and Distance Are Where the Design Happens
Two identical fixtures can produce completely different results depending on beam spread and where they sit. This is the part that separates a lighting design from a row of bright spots in the yard.
Think about a mature coastal live oak or a Monterey cypress. A narrow 15-degree beam placed at the right distance from the trunk sends a tight column of light up into the canopy and picks up the branch structure.
Move that same fixture too close and you light the trunk and nothing else. Move it too far and the beam spreads out into a flat wash that never reaches the interesting part of the tree.
The working rule is simple. Narrow beams for tall or distant subjects, wider beams for close or broad ones.
Entry gates and courtyard walls behave differently. A wide flood at a shallow angle grazes a stone or plaster wall and reveals texture, while a narrow spot on the same wall just makes a hot circle.
A few placement habits that hold up well on Peninsula properties:
- Aim uplights so the source is hidden behind planting, not staring at the street
- Light from two sides on a specimen tree to avoid a flat, one-note look
- Keep the number of lit subjects small so the eye has somewhere to rest
The same logic behind interior accent lighting applies outside, and what accent lighting actually does is worth reading alongside this.
Beam Angle Quick Reference for Coastal Properties
Beam angle is listed on the spec sheet for almost every quality outdoor fixture. Here is how the common spreads tend to get used.
| Beam Spread | Typical Use | Common Mistake |
|---|---|---|
| Narrow spot, roughly 10-15 degrees | Tall cypress, mature oak, chimney or tower element | Placed too close to the trunk, so the canopy stays dark |
| Medium flood, roughly 25-40 degrees | Small trees, hedges, entry gates, garage facades | Used on a tall tree where the light spreads out and thins |
| Wide flood, roughly 45-60 degrees | Wall washing, broad shrubs, low fences | Aimed straight at a wall instead of grazing it for texture |
| Path light distribution | Walkways, garden steps, grade changes | Spaced too far apart, leaving dark gaps between pools |
The Order the Decisions Should Happen In
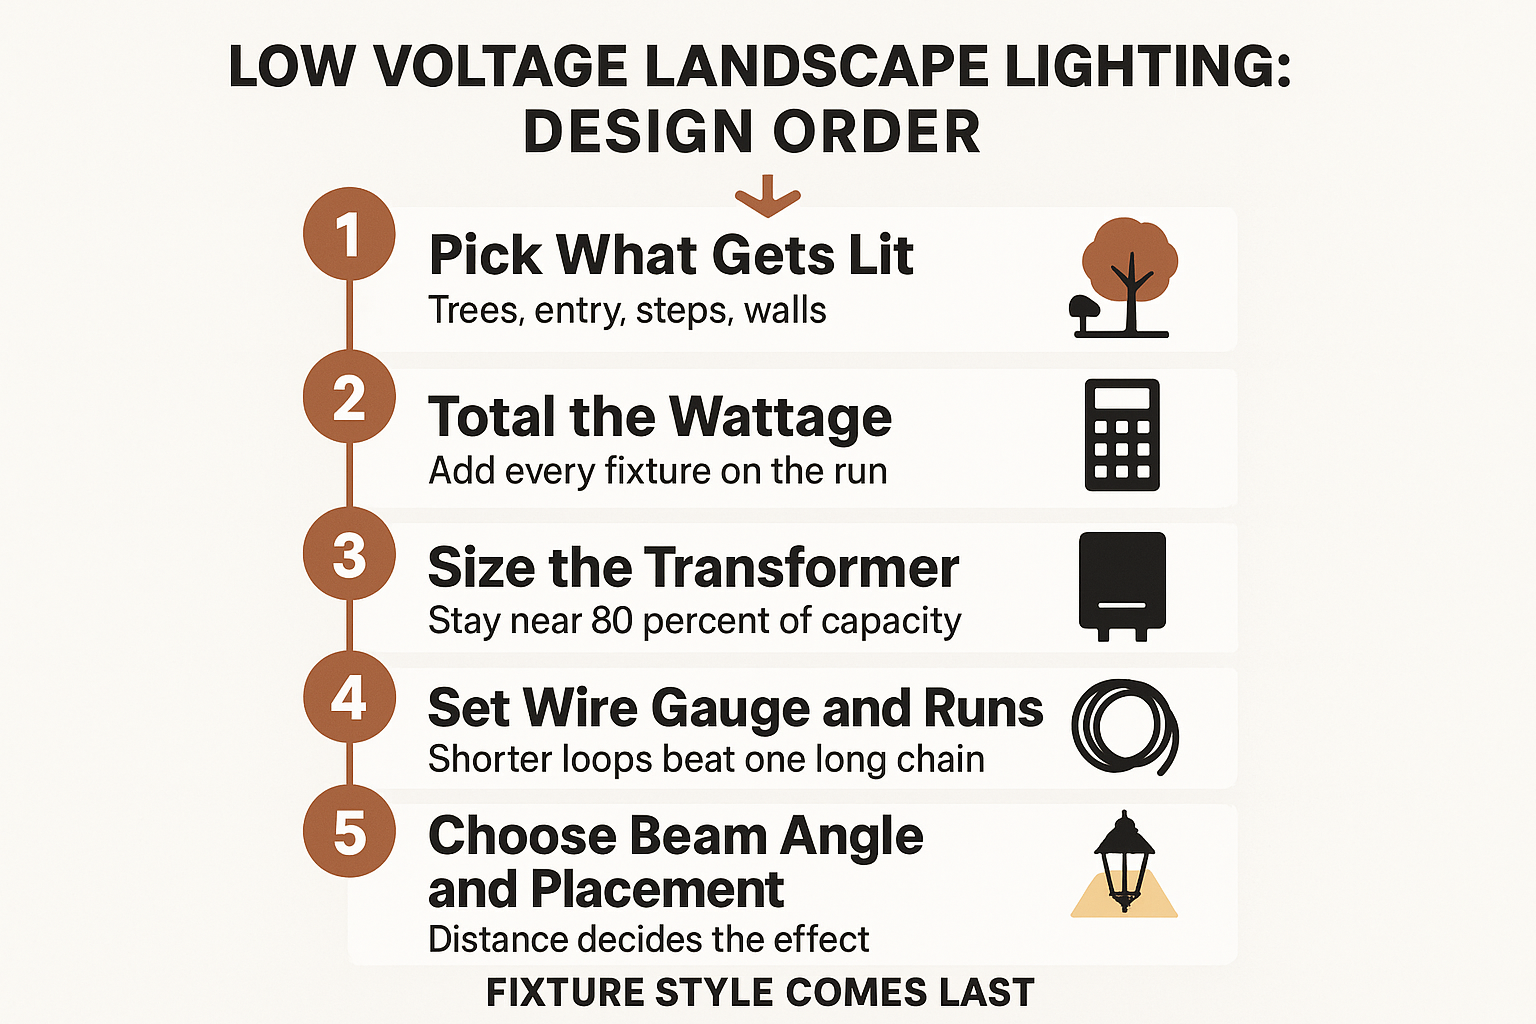
Most outdoor lighting regret traces back to doing these steps out of order. Here is the sequence that keeps a project on track.
Path Lights Are a Safety Decision Before They Are a Style Decision
Path lights get picked from a photo more often than any other outdoor fixture. On the Peninsula, they are doing real work.
Coastal properties are full of grade changes. Uneven stone walkways, garden steps cut into a slope, a path that drops two inches where a root pushed up the flagstone.
The design question is not only where the fixtures look balanced. It is where someone walking to the front door at 9 p.m. in the fog actually needs to see the ground.
Spacing is where this goes sideways. Fixtures set too far apart create alternating pools of light and dark, and the dark pockets are exactly where an ankle turns.
Priorities worth mapping before you count fixtures:
- Every step or grade change gets light, even if it breaks the even spacing
- Direction changes in the path, where people naturally slow down
- The transition from driveway or street to walkway
- The entry itself, so the door hardware is visible without a phone flashlight
Overlapping pools of light read as one continuous surface. Isolated pools read as a runway, and they fail the safety test even when the daylight photo looks tidy.
Carmel’s Exterior Rules Narrow the Fixture List Before You Shop
This is the part that surprises people. Carmel-by-the-Sea has an exterior lighting ordinance, and it applies to fixture replacements on existing systems, not only to new construction.
The city caps residential exterior lighting at a maximum color temperature of 3000K and limits lumen output per fixture. The stated goals of Municipal Code Chapter 17.39 include cutting light pollution, glare, and light trespass while protecting the village character at night.
That rules out a lot of what shows up first in an online search. Plenty of popular landscape fixtures ship at 4000K or higher, and homeowners find out after the boxes arrive.
A few things worth checking on any outdoor fixture spec:
- Correlated color temperature, listed in Kelvin, at or below 3000K
- Lumen output per fixture, not just the wattage
- Whether the lamp is replaceable or the LED is integrated, which affects what happens in year eight
- Shielding and cutoff, since glare and trespass matter as much as brightness
Requirements change, so verify current standards with the city’s Community Planning and Building Department or your licensed contractor before ordering anything. For a deeper walkthrough, see does your landscape lighting meet Carmel’s exterior rules.
Warmer light is not a compromise here anyway. It suits stone, weathered wood, and coastal planting better than anything cooler, which is why outdoor lighting on the Monterey Peninsula needs a different approach than a suburban catalog layout.
What Drives the Budget
Costs swing widely, so treat any number you see online as loose context rather than a quote. What is reliable is the list of things that move the total.
- Fixture count and quality. Solid brass and copper cost more up front and hold up far better in salt air than painted aluminum.
- Transformer size and count. Large lots often need more than one.
- Wire runs. Trenching distance and gauge add up fast on acreage.
- Controls. Timers, photocells, and zone control add cost but solve the problem of lights running at 3 a.m.
- Compliance. Carmel-specific fixture requirements can narrow the list to higher-spec product lines.
Most Monterey County homeowners find that fixture quality is where skimping costs the most later. Fog and salt are relentless on hardware, and a cheap finish shows it within a couple of seasons.
Greg and Tammy at The Home Lighter can walk through fixture options and beam characteristics for a specific property, and the showroom works alongside your electrician or contractor, who handles the load calculations and the actual work. If a project is still at the sketch stage, planning outdoor lighting for a Pebble Beach or Carmel property covers the earlier decisions.
Frequently Asked Questions About Low Voltage Landscape Lighting Design
Can I just add a few fixtures to the system I already have?
Sometimes, but check the transformer first. Add up the wattage of everything already on the circuit plus what you want to add, and compare it to the transformer’s rating. If you land near or over about 80 percent of capacity, you need a bigger transformer or a second circuit before adding anything.
Why do the fixtures at the end of my run look dimmer?
That is almost always voltage drop. Power fades over the length of the wire, so the last fixture on a long run gets less than the first. Heavier gauge wire, shorter loops, or rebalancing the load usually fixes it. An electrician can measure the actual voltage at each fixture to confirm.
Does the Carmel 3000K rule apply if I am only replacing existing fixtures?
Yes. Replacements on an existing system still need to meet the city’s current standards, which is why so many online orders get returned. Verify the current requirements with the Community Planning and Building Department before you buy.
How far apart should path lights go?
There is no single number, because it depends on the fixture’s spread and mounting height. The practical test is whether the pools of light overlap enough that there are no dark gaps at steps, grade changes, or turns. Even spacing that leaves dark pockets is worse than uneven spacing that covers the hazards.
Is LED worth it for landscape lighting, or is halogen fine?
LED draws far less power, which means more fixtures on the same transformer and much less voltage drop. It also runs cooler, which matters near planting. The main thing to check is color temperature and whether the lamp can be replaced down the road.
Should I add a timer or a photocell?
Both solve different problems. A photocell turns the system on at dusk automatically, and a timer decides when it shuts off. Pairing them is common on larger properties so the lights are not running all night.
Thinking through an outdoor lighting plan?
Whether it is a fixture swap on a Carmel cottage or a zone-by-zone layout for a larger Monterey County property, it helps to see fixtures and beam patterns in person before committing. The Pacific Grove showroom at 2034 Sunset Drive is open for questions about fixture specs, color temperature, and what works in coastal conditions. Walk-ins are welcome, appointments are available for more involved projects, and the phone is (831) 655-5500.