
Direct Answer: LED strip lights with a diffuser channel give the most even, shadow-free task light for most kitchens. Puck lights work better inside glass-front display cabinets but can create hot spots on polished counters.
The most common complaint about kitchen counter lighting isn’t that there isn’t enough of it overhead. It’s the shadow. Recessed ceiling lights, no matter how well placed, sit behind you when you’re standing at the counter, and your own body blocks the light exactly where you’re chopping vegetables or reading a recipe label. One homeowner planning a small-house remodel in Monterey reached out describing this exact problem, and it’s the scenario that drives most under-cabinet lighting decisions.
The fix is straightforward in concept: put the light source directly above the work surface, not behind the person using it. Under-cabinet fixtures do exactly that. But once you start shopping, the strip-versus-puck question comes up fast, and the answer isn’t the same for every kitchen.
This guide covers the three decisions that actually matter: which fixture type fits your countertop, what color temperature to choose, and how to think through wiring before your walls close up. Get these right and the result looks intentional. Skip them and you’ll know it.
Strip Lights vs. Puck Lights: Which One Actually Works
The strip-versus-puck debate has a real answer, and it depends on your countertop material and how you’re using the space.
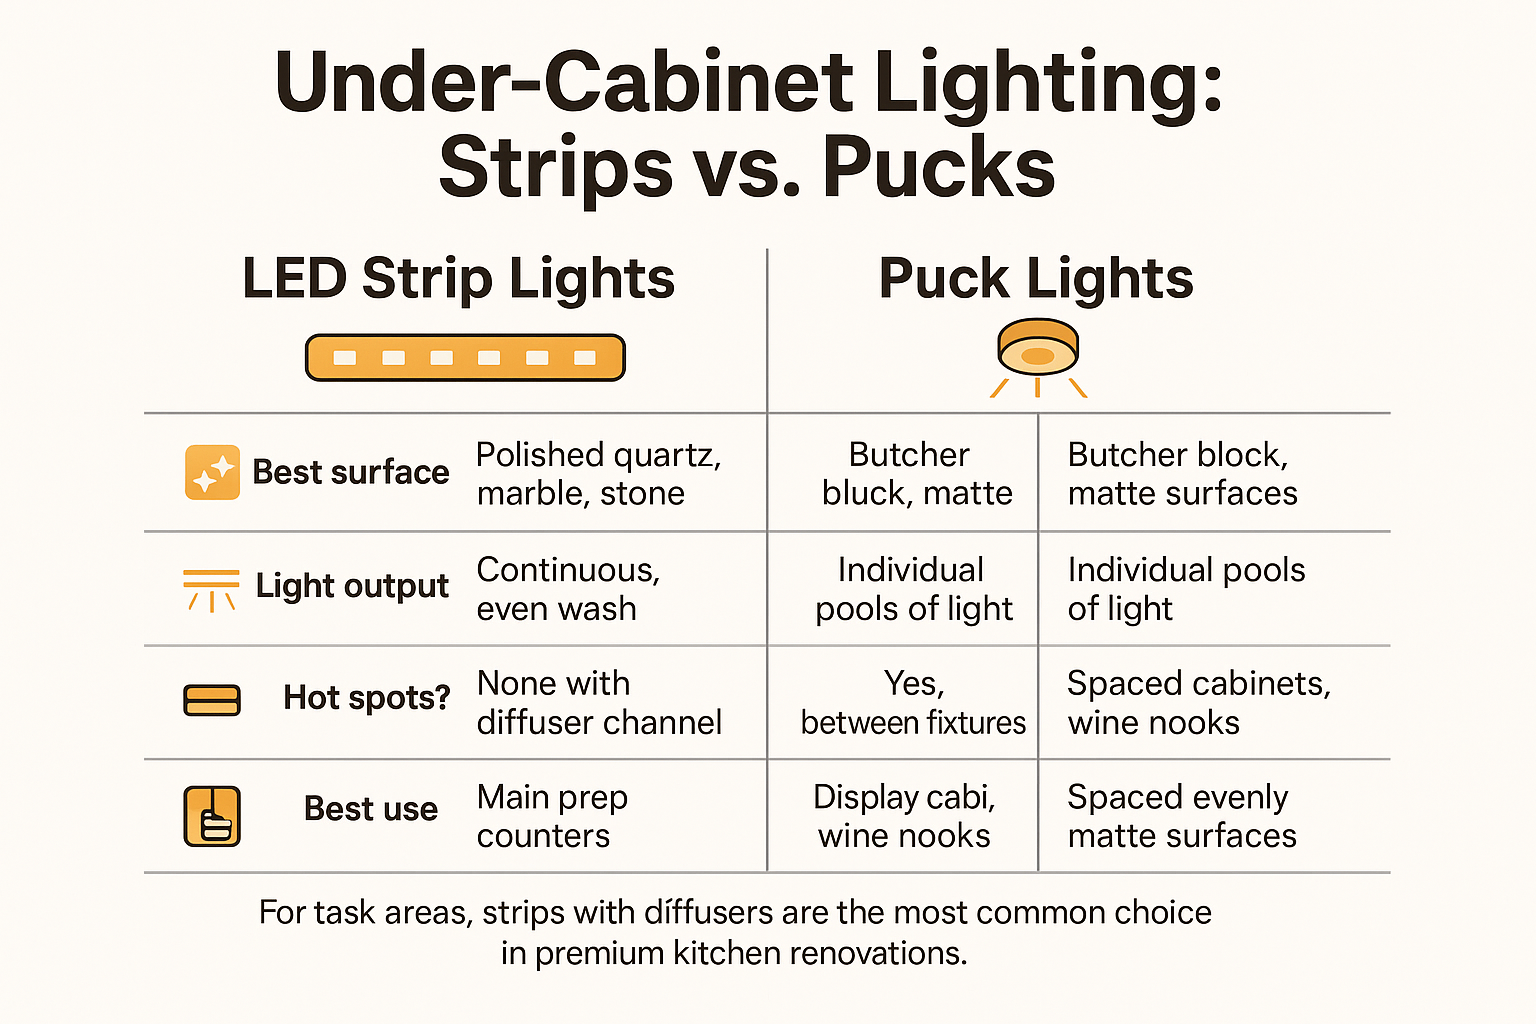
Puck lights are individual round fixtures spaced along the underside of the cabinet. They deliver focused pools of light and work well inside glass-front display cabinets or over a matte surface like butcher block, anywhere that individual circles of light read as intentional rather than uneven. But on a polished marble or quartz countertop, pucks create what’s sometimes called a headlight effect: visible bright spots between fixtures and a surface that looks mottled rather than evenly lit. On those reflective materials, the gaps between pucks show.
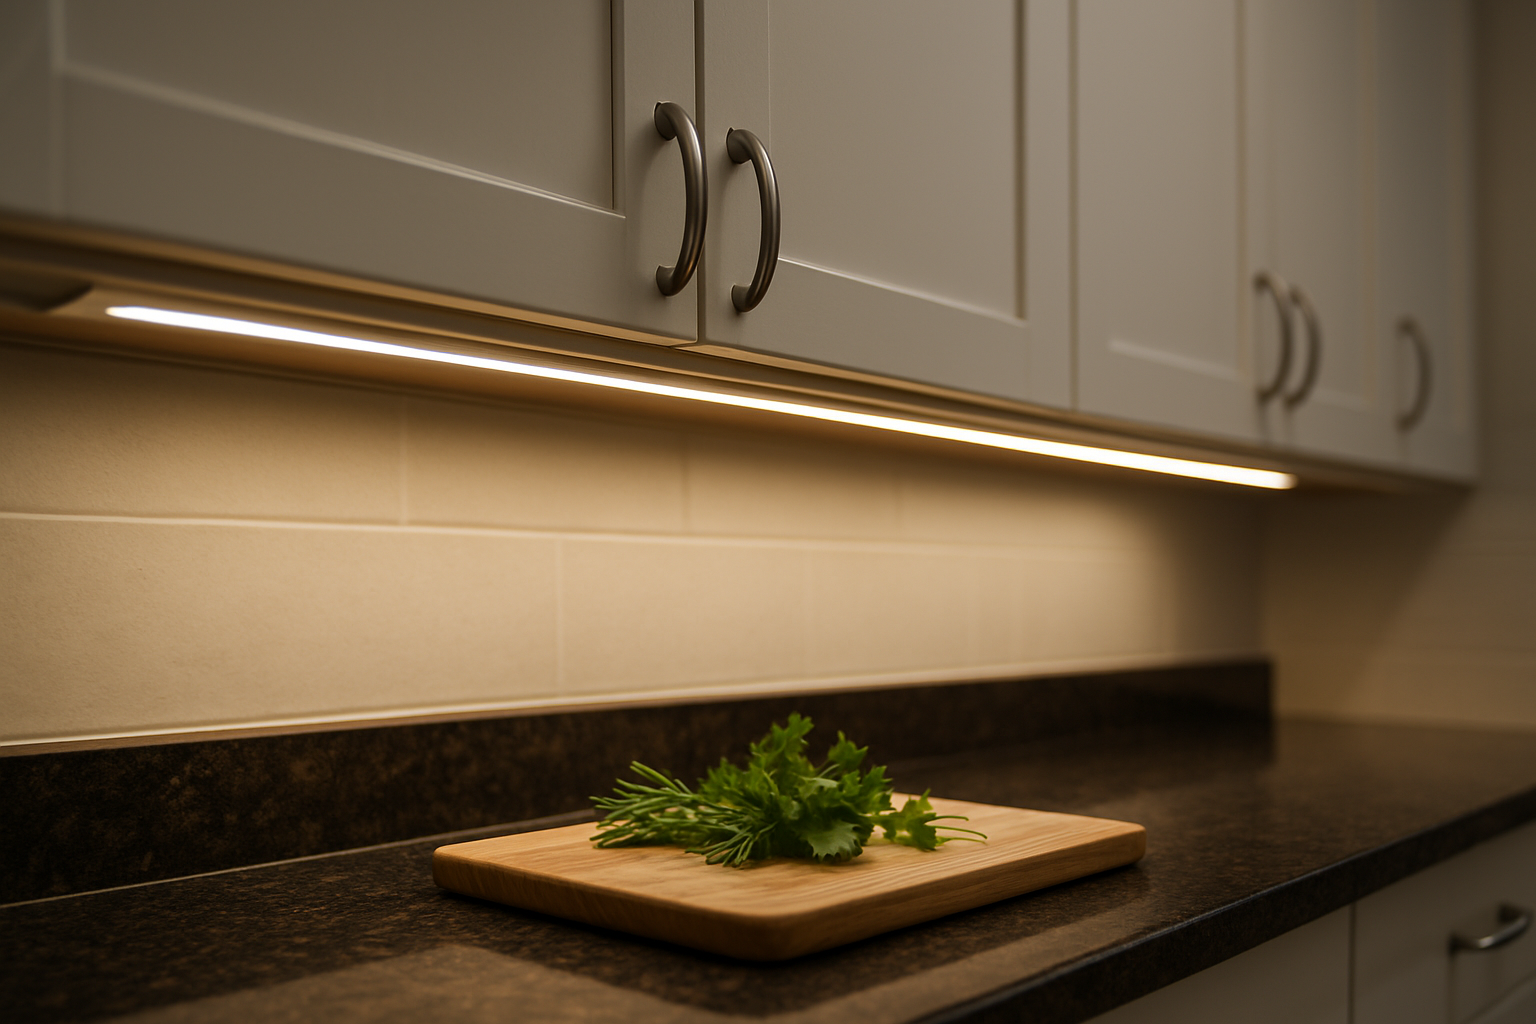
LED strip lights run continuously across the full width of the cabinet bottom. When they’re mounted in a recessed aluminum channel with a frosted diffuser lens, the output is a smooth, uninterrupted wash of light across the whole counter. This is why most premium kitchen renovations now specify strips for task areas. The diffuser hides the individual diode dots behind a single clean source of light, no hot spots, no visible hardware.
For a kitchen on the Monterey Peninsula where stone counters are common, think Carmel Valley homes with honed quartzite or Pacific Grove bungalows with polished quartz, strips with diffusers are almost always the right call for the main prep surfaces. Pucks can still earn a place inside a display cabinet or wine nook where the focused pools are part of the look.
For a broader view of how under-cabinet lighting fits into a full kitchen lighting plan, Kitchen Lighting That Works: Layers, Layout, and Common Mistakes covers the full picture.
Color Temperature: The Decision Most Homeowners Skip
Color temperature is measured in Kelvin (K) and controls whether your light looks warm and amber or cool and clinical. Most people skip this decision when buying under-cabinet fixtures and later regret it.
For under-cabinet task lighting, 3000K is widely considered the sweet spot on the Monterey Peninsula. It’s warm enough to feel residential, but accurate enough for food prep, you can actually see the true color of produce, spices, and meat at 3000K without the light distorting what you’re looking at.
Here’s how the range breaks down:
- 2700K: Very warm, amber-leaning. Can make the counter feel yellow in kitchens with white or gray cabinetry. Works well in very warm, wood-heavy interiors but can clash with cooler color schemes.
- 3000K: Warm white. The best all-around choice for most residential kitchens, including the warm wood cabinetry and natural stone common in Carmel and Pacific Grove homes.
- 4000K and above: Cool white, almost daylight. Makes a kitchen feel bright but clinical, better suited to commercial prep environments than a home.
Many homeowners in coastal communities here gravitate toward the 2700K to 3000K range because it reads as residential and pairs well with the warm tones in wood cabinets or travertine tile. If you’re not sure which end of that range fits your kitchen, it’s worth looking at the fixture in person before committing, color temperature reads differently on a spec sheet than it does on an actual surface.
For a deeper explanation of how warm and dim interact, The Difference Between Dim and Warm (And Why It Matters) is worth a read before you finalize your selection.
Quick Reference: Strips vs. Pucks at a Glance
This comparison covers the key differences between LED strip lights and puck lights for under-cabinet kitchen use.
Hardwired vs. Plug-In: The Question to Ask Before Drywall Closes
This is the decision callers often don’t think to ask about until they’re already mid-renovation, and by then, the answer is more complicated.
Hardwired systems connect directly to your home’s electrical circuit. They’re controlled by a wall switch, integrate cleanly with dimmer circuits, and disappear into the cabinet once installed. If an electrician is already on-site for a kitchen remodel, this is almost always the right approach. There’s no visible cord, no outlet required inside the cabinet, and the result looks built-in.
Plug-in systems are faster and less expensive to add after the fact. But they require an outlet inside or directly behind the cabinet, and the cord stays visible unless it’s routed carefully through the cabinet interior. For a homeowner who simply wants to add task lighting to a kitchen that’s already finished, plug-in strips are a practical option, with the understanding that the result depends heavily on how the cord is managed.
For anyone in the planning stage of a remodel, the conversation with your electrician about rough-in locations for under-cabinet circuits should happen before drywall closes. Retrofitting a hardwired run after the walls are sealed adds cost and disruption that’s easy to avoid with early coordination.
This also connects to California’s building energy efficiency requirements. The 2025 Building Energy Efficiency Standards, effective January 1, 2026, apply to permitted kitchen remodels and include requirements around lighting controls and efficiency. Homeowners planning a permitted remodel should confirm their lighting layout meets current code with their contractor before rough-in.
Understanding how dimmers and controls integrate with your fixture selection is its own topic, Home Lighting Controls Explained: Dimmers, Scenes, and Smart Systems covers the specifics in plain language.
Hardwired vs. Plug-In Under-Cabinet Lighting
Here’s a quick comparison of both wiring approaches to help you think through which fits your situation.
| Factor | Hardwired | Plug-In |
|---|---|---|
| Installation timing | During remodel (before drywall) | Anytime after kitchen is finished |
| Requires electrician | Yes | No (outlet must already exist) |
| Dimmer compatible | Yes, integrates with wall dimmer | Depends on system, check specs |
| Cord visibility | None, concealed in cabinet | Visible unless carefully routed |
| Best for | Full kitchen remodels | Finished kitchens, rental upgrades |
| Long-term result | Clean, built-in appearance | Functional, less polished finish |
The One Detail That Separates a Quality Result from a Disappointing One
Installing LED strip tape directly against the cabinet bottom without a channel or diffuser is one of the most common under-cabinet mistakes, and it’s visible the moment you turn the lights on.
Bare LED tape shows individual diode dots rather than a clean wash of light. The result looks cheap regardless of the brand, and it’s exactly the kind of thing that makes a homeowner wonder why their kitchen doesn’t look like the photos they saw online.
A recessed aluminum channel with a frosted diffuser lens solves this completely. The channel mounts to the cabinet underside, the tape sits inside it, and the diffuser covers the whole assembly. From the counter, you see a single smooth line of light, no dots, no hardware, no visible components. This is the detail that makes under-cabinet lighting look intentional rather than added-on.
This isn’t a luxury upgrade. It’s the difference between a result that looks finished and one that reads as DIY. Any kitchen where the under-cabinet lighting is visible from a standing position, which is most kitchens, should include a diffuser channel as a standard part of the specification.
For more on how individual fixture choices affect the feel of a whole room, Beyond the Bulb: How the Right Fixture Changes Everything in a Room is a useful companion read.
Frequently Asked Questions About Under-Cabinet Lighting
How much does under-cabinet lighting typically cost for a kitchen in Monterey County?
Costs vary based on cabinet run length, fixture type, and whether you’re going hardwired or plug-in. For a hardwired LED strip system with aluminum channels and diffusers, many Monterey County homeowners see somewhere in the range of a few hundred to over a thousand dollars in fixtures alone, before electrician labor. Plug-in systems tend to cost less upfront but vary widely by brand and quality. The Home Lighter can help you work out what makes sense for your specific layout and budget.
Can I dim under-cabinet LED strip lights?
Yes, but it depends on the system. Hardwired strips connected to a compatible LED dimmer circuit will dim smoothly. Plug-in systems vary, some include their own inline dimmer, others don’t dim at all. Always confirm dimmer compatibility before buying, and pair the fixture with a dimmer switch rated for LED loads. A standard incandescent dimmer won’t work correctly with most LED strips.
What color temperature should I choose for under-cabinet lights?
3000K is the most practical choice for most kitchens on the Monterey Peninsula. It’s warm enough to feel like a home, but accurate enough for food prep, you’ll see produce and spice colors correctly. Homes with very warm wood cabinetry might prefer 2700K, but anything above 3500K will start to feel clinical in a residential kitchen.
Do I need an electrician to install under-cabinet lighting?
For hardwired systems, yes, a licensed electrician handles the circuit connection and switch integration. Plug-in systems don’t require an electrician, but you’ll need an accessible outlet inside or behind the cabinet. For any permitted kitchen remodel, work with your contractor and electrician early so rough-in locations are planned before walls close.
Why do my under-cabinet lights show visible dots instead of a smooth glow?
This is almost always bare LED tape without a diffuser channel. Individual LED diodes are visible when there’s nothing to spread and soften the light output. The fix is a recessed aluminum channel with a frosted diffuser lens, it covers the tape completely and produces a single even line of light. This is a standard part of any well-specified installation.
Are puck lights ever the right choice?
Yes, inside glass-front display cabinets or wine storage areas where focused, individual pools of light are intentional. They’re also fine over matte surfaces like butcher block where the gaps between fixtures are less visible. But for the main prep counter, especially one with polished stone, LED strips with a diffuser almost always give a better result.
Ready to Figure Out What Your Kitchen Actually Needs?
Under-cabinet lighting is one of those decisions that’s easy to get wrong online and easy to get right with five minutes of real conversation. Greg and Tammy at The Home Lighter have been helping Monterey County homeowners work through exactly these choices since 1969, fixture type, color temperature, wiring implications, and what will actually look good in your kitchen. Walk-ins are welcome at the showroom at 2034 Sunset Drive in Pacific Grove, or call at (831) 655-5500 if you’d like to talk through your project before you visit. Appointments are also available for more involved remodel consultations.